


How To Create – Beaded Necklaces & Bracelets
Published date: 27 March 2019
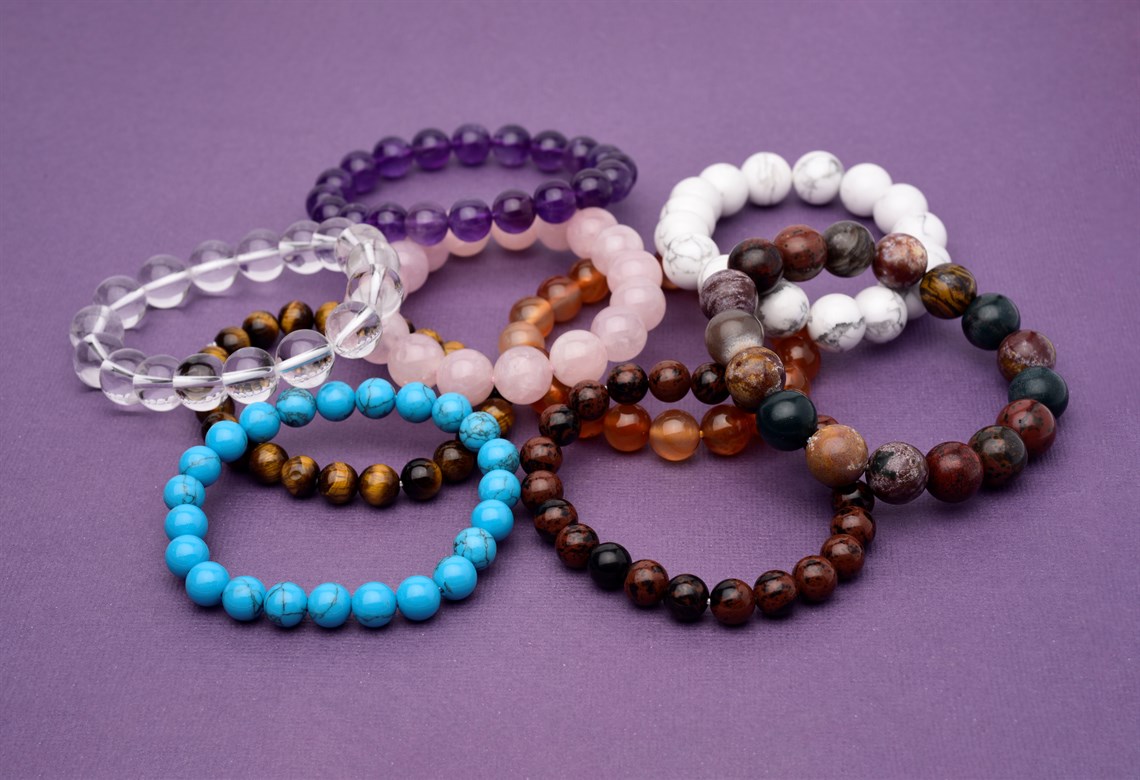
A key style in jewellery is the beaded necklace & bracelet. Design your piece from your choice of beads and these can quickly be turned into a finished piece of jewellery with beading wire, crimps & a clasp. We’ve the basics covered so you can quickly learn what there is to know about beading wires & crimps and this useful technique.
A key style in jewellery is the beaded necklace & bracelet. Design your piece from your choice of beads and these can quickly be turned into a finished piece of beaded jewellery with beading wire, crimps & a clasp. We’ve the basics covered so you can quickly learn what there is to know about beading wires & crimps and this useful technique for creating beaded jewellery.

The low down on beading wires
The basic technique behind many beaded necklaces and bracelets uses beading wire and crimp, chose your desired beads, string the beads on to the correct gauge beading wire and using crimps this allows a clasp to be attached to the beaded jewellery design.
First the wire, there are different qualities of beading wire and a good few brands too. The basic beading wire is often referred to as tiger tail and has a low number of strands. Our tiger tail is called Acculon 3 strand we’ve stocked this for many years, it is great for cheap and cheerful beaded designs but has a tendency to kink if not laid out and stored correctly. Although Acculon now do higher strand wires which are as good as some of the better known brands at a cheaper price. The key with beading wires is the higher the number of strands, the less kinking you will get.
We’ve spent a good amount of time researching the more expensive well known branded beading wires too and our personal favourite is Beadalon and we’ve stocked this for a good number of years now to know that many jewellery designers seem to feel the same too. The 49 strand is the best quality, lower strands are cheaper and still great quality. But for top range beaded jewellery it’s wise to buy top line beading wire. Each beading wire strand range comes in different gauges, this relates to the bead hole size Gemstone work tends to sit best on .018, whilst pearls work well with .015, as they generally have a smaller drill hole size.
